Terez advises on photography: about smartphones for beginners
In the first part of the new series for beginner photographers, I will focus only on phones and show you what you can get from your phone.
Okay, you have a phone and a camera in it. Of course, you’ve used it in the past to photograph lunch or dinner or sunset, but somehow those shots didn’t turn out quite well. So let’s take a look together at how to improve the final photo so it’s not just your mom liking the shot on Instagram.
First of all, I would recommend finding out how many MPx your camera has and how many lenses. The lenses are the glass wheels on the back of your mobile phone. You can then check the megapixels in the settings of the camera itself, or google your phone type (that way you will also find out the correct lens number).
In general, the more megapixels and lenses, the better the camera. However, be aware that even this will not protect you from a crooked photo, or a photo that is too dark or light.
How to deal with crooked photos?
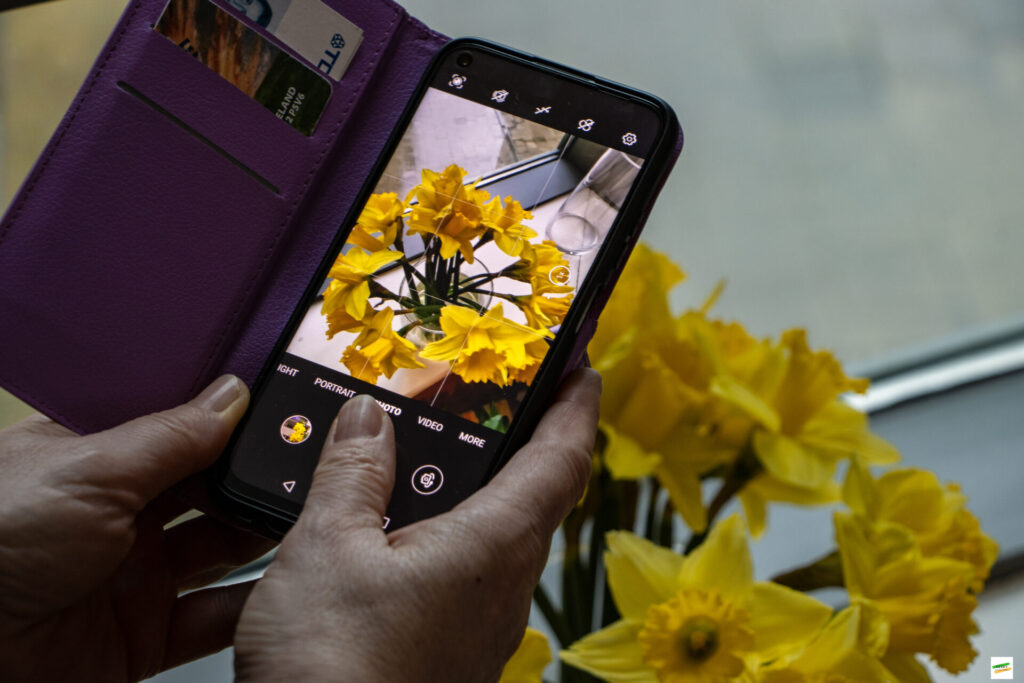
The phone itself can help you with that. It’s not called smart for nothing. There is a lot in the camera settings, but what you should be interested in (and should save you from tilted photos) is the so-called Assistive Grid. When you turn it on, two horizontal and vertical lines appear on the camera screen. Thanks to them, you shouldn’t have your final photo crooked (by aligning the lines with whatever you are shooting – for this you need to google the rule of thirds in photography). Of course, sometimes curvature doesn’t matter if it makes the photo better. But it depends on what you are photographing.
If the grid interferes and disrupts the shooting process, you can always straighten the photo later in photo editing software such as Lightroom (mobile version is available for free!), Photo Editor or any other.
As for dark or too light photos, you can also control them directly when taking a photo by tapping a light or dark place on the screen during a photo shoot and moving the sun icon as needed (in some camera modes, the darkness or lightness of the photo is simply controled by tapping the screen).
Raw rules them all

You can also edit a photo that is too dark or too light later, but keep in mind that jpeg files don’t carry as much data, and sometimes a photo that’s too dark or too light just can’t be fixed.
An alternative in such cases is to take photos in raw. Raw is a file that records more photo data than jpeg. Therefore, when a photo is too dark or too light, it is much easier to edit it while maintaining the authenticity of the photo.
There are two ways to tell if your phone is taking photos in raw – the first is Google. The second way is to turn on your camera, check the settings, or open camera modes (portrait, food, landscape, etc.). In this case, you are looking for a mode that is named Pro or something similar. If you have this mode on your mobile, then select it and in the settings you can set the photos to be saved as a raw file.
It’s good to remember that raw photos will always be too dark, and before you send them to your grandparents or upload them to your Instagram, you should edit them (I’ll write about how to edit the photos in the future).
Going full auto is not always a bad idea
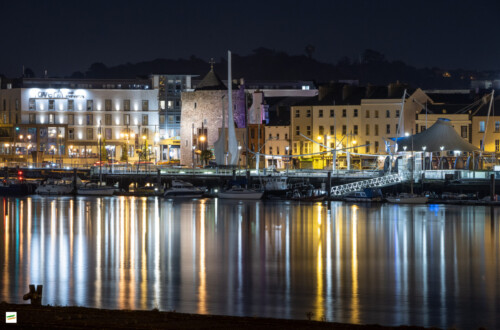
If your phone does not take photos in raw, or you are not interested in spending your time editing photos, then you can take photos using camera modes on your smartphone. I would recommend that especially if you take photos at night. Not only an ordinary night scene, but also so-called light lines (from cars or a ferris wheel), stars, light painting. For these scenes, however, a tripod is needed, or make sure your phone rests somewhere for those few seconds. Also, be sure to use the self-timer for at least 2 seconds in this case (see settings). This is because your phone detects your tapping on the screen, and the resulting photo may be blurred. However, those 2 seconds will delay the start of the photo shoot (by 2 seconds) and the small shakes from your tap shouldn’t have such an impact on the final photo. Of course, you can choose from a few seconds – usually from 2 to 10.
Last but not least, it’s important to remember that if possible, you should get closer to the photographed object physically. I do not recommend zooming in with a camera on a mobile phone for several reasons: this reduces the quality of the photo and whether you like it or not, our hands are shaking and your camera in the mobile phone will register it immediately. This increases the chances that not only will the photo be of poor quality as a result, but also blurred.
Finally, I would recommend trying different settings in your camera as well as different modes. This is the best way to figure out what suits you the best.
You will read about how not to take pictures like every tourist visiting your city and offer your followers a new perspective on Instagram in future articles.
EDIT: It came to my attention that the camera UI on the iPhone doesn’t look like the one on Android. I would very much like to give some photography advice to my readers with iPhones, unfortunately I have no experience with them. Therefore, take this article more as an advice for Android users. But if you are an Apple user and you have Instagram, then dive deep into Reels – there are a lot of tips and tricks for Apple phones!